No More Heroes Travis Strikes Again Bosses
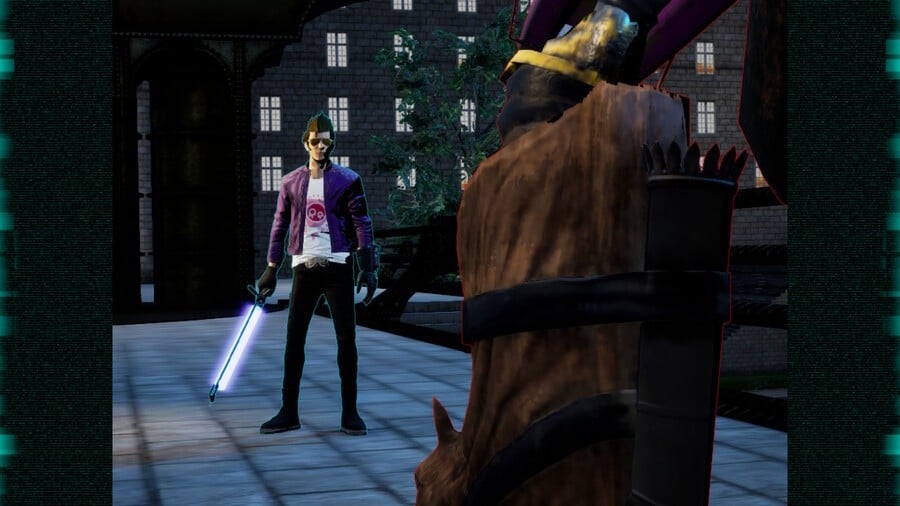
If y'all picked upwards Travis Strikes Again: No More than Heroes and are looking to requite those bugs a sound thrashing, we've got some tips to go you lot on the right track. It'due south not the most complex game, but it's easy to get stuck in a estrus and forget the multifariousness of options at your disposal to approach each encounter. As well as general pointers (hint: contrivance a lot), nosotros've included an overview of every boss you'll face. Beware though - the real forcefulness of Travis Strikes Again come up from the lilliputian surprises information technology throws upwards, and naturally at that place are spoilers below. You've been warned!
General tips
- Go along an centre on that beam sword charge. It becomes more powerful the longer you go without taking a hit, but every swing depletes the energy bar. Recharging is simple; click in the left stick and waggle the correct Joy-Con.
- Call up that using the toilets not merely saves your game simply likewise magically replenishes your health (magic indeed, judging from Travis' wiping regimen).
- Remember to level up from the pause menu to increase your attack harm – you earn XP with every enemy you defeat. Experiment with different skills, as well. We found the Wing Chip's electrical shock and quick nuance of the 00 Flake invaluable, but there are loads to choose from. Find something that suits your playstyle.
- Remember carefully almost the enemies attacking you. Prioritise annihilation that fires projectiles, then concentrate on melee. Information technology'due south usually best to clear the crowd before taking on the tanks.
- Try to line upward charge attacks (hitting 'R' when charged and waggling the correct Joy-Con) to take downwardly as many enemies as possible. They're powerful and it's a shame to waste them on one lowly chow while the opposite side of the screen is teeming with baddies.
- Ramen Shops are hard to miss, and so be sure to visit Bugjirou the ramen guy for a health and energy tiptop-upwards.
Dominate Guide
one. Electric Thunder Tiger Ii
Mid Dominate – Sheepman Red
Immediately after the third toilet you'll run into an open up space and meet the first midboss. Sheepman Red charges at you and charges himself with electricity, but isn't hugely challenging (none of the Sheepmen are). If you've ignored the contrivance button until at present, this is an opportunity to become acquainted with it. Keep swinging and dodging and remember to use the skills you've picked up (the Shining Chip and the Psycho Flake).
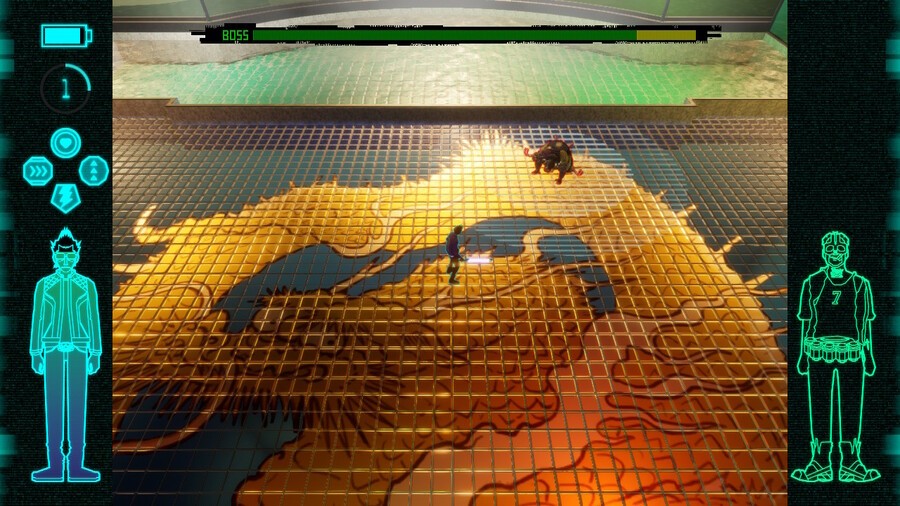
Boss – Electro Triple Star
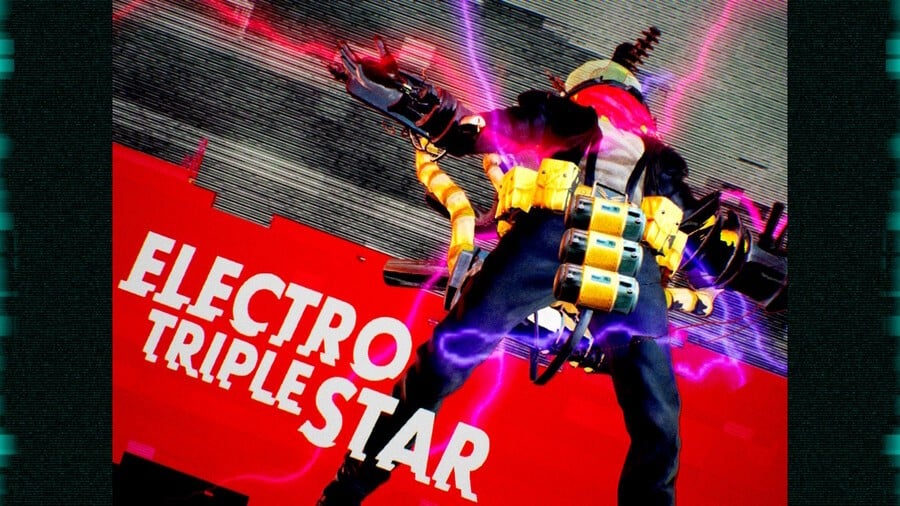
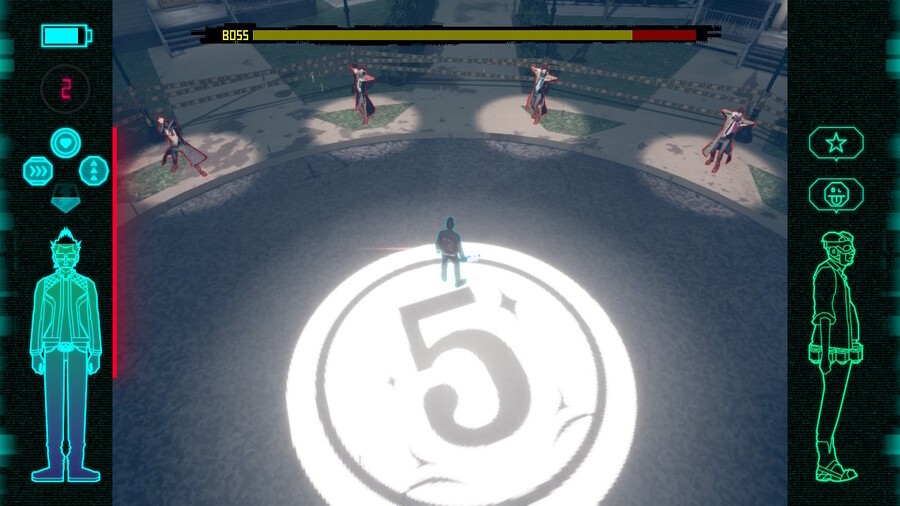
Travis' video game hero, Electro Triple Star charges an easily avoidable laser beam, summons bolts of electricity that glow as circles on the basis before hitting and fires balls of electricity that radiate out from his position. In stage two he activates four lights around the arena which must be destroyed as enemies spawn. A glowing strip on the floor signals an incoming assail – jump away to avoid a stupor. One time the four lights are gone, simply pummel him as much as possible, avoiding the occasional pulse wave he emits. Defeating Electro Triple Star will net you the Fly Chip. Equip information technology immediately – it'south powerful lightning attack will come in handy.
two. Life Is Destroy
Mid Boss – Sheepman Green
Sheepman Green throws iii green projectiles that are relatively easy to avert and engages in some teleportation shenanigans. Merely lookout his patterns and acquire to contrivance – you'll before long have him licked.
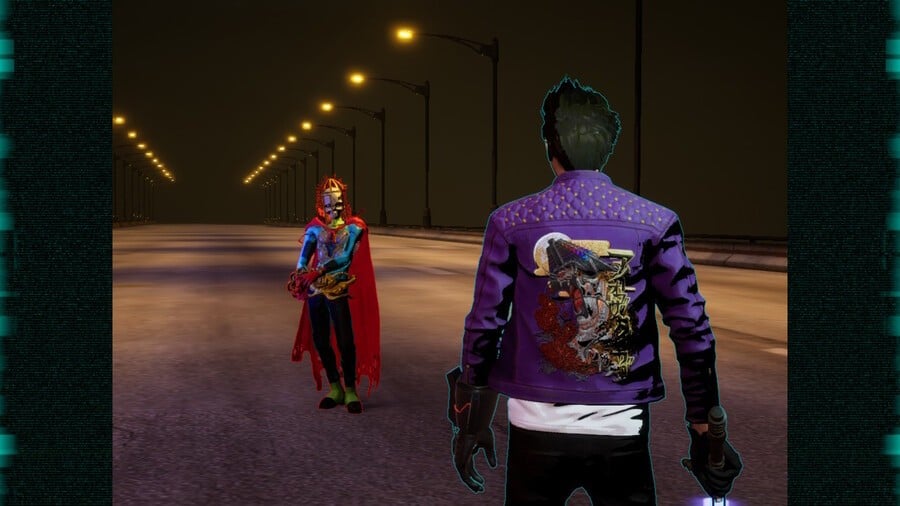
Boss – Doppelganger Patrick Granada Jr
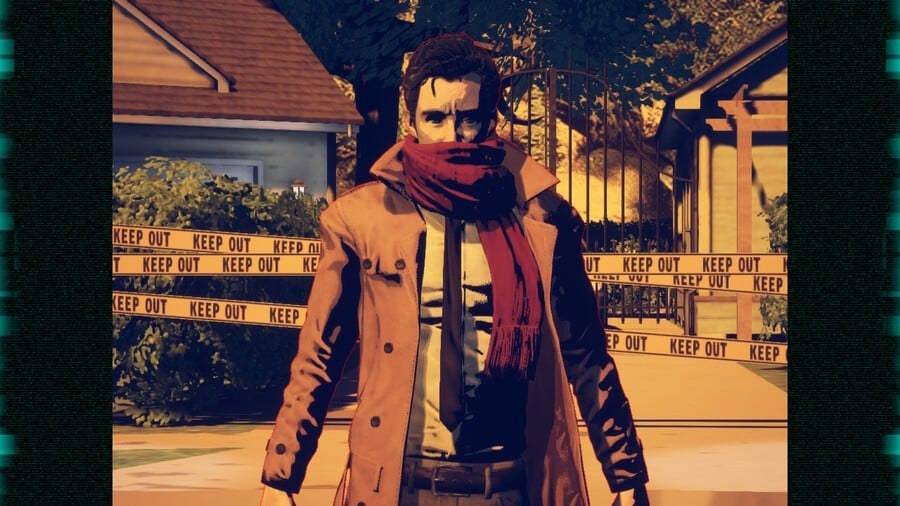
Murderous tendencies aside, Doppelganger is a chip of a pushover. Every bit long as you've mastered the dodge, you shouldn't have as well much trouble.
- Stage 1. Simply dodge the occasional projectile and watch out for his teleport.
- Stage 2. He then duplicates himself around the street – hitting the fakes to reveal the true Doppelganger(!) before the timer reaches null. He'll spawn behemothic spinning playing cards and floating majestic guns that fire at y'all.
- Phase 3. Similar to phase 2, though with more than projectiles.
That'southward information technology. Cease him and y'all'll choice be gifted a new skill chip.
3. Coffee & Doughnuts
Mid Boss – Sheepman Purple
In room 305. Like to his fellow Sheepmen, he's not fantastically challenging. This one launches homing missiles and spinning blades which hang mid-air for a while, but over again, as long as you've got your dodging skills down, he shouldn't bear witness also much trouble.
Boss – Brian Buster Jr.
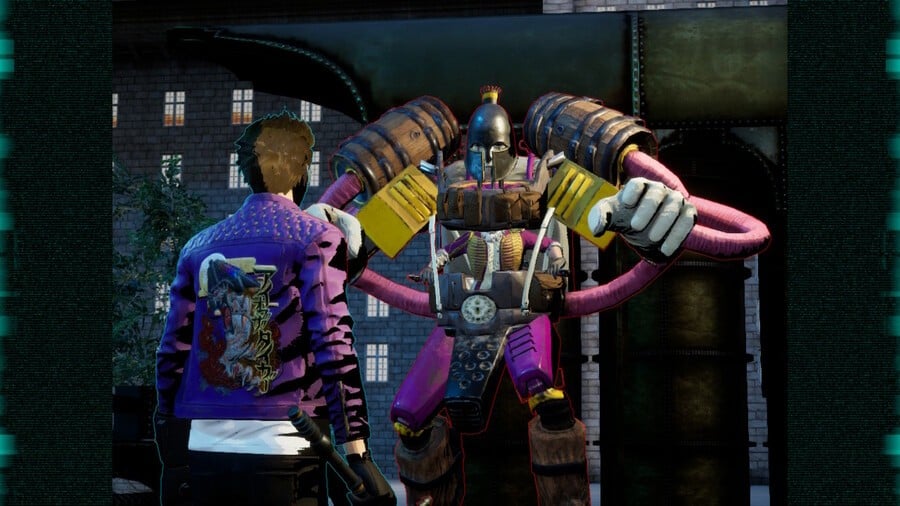
Brian'due south got some decent punches and fires green energy balls at you, but liberal dodging should keep you clear of the worst of it (we found the 00 Flake very useful for getting out of the way). Once he's downwardly to his last quarter of wellness some laser eyes actuate on the statue backside him and rain down explosive pain on one-half of the stage, and so be sure to scarper when the ruby circles appear on the ground. One time Brian is out of his wooden mechsuit, a few generous strikes from the beamsword should sort him out and bag you the Strike Liberty Chip.
4. Gilt Dragon GP
Mid Boss – Sheepman Yellow
This one throws fire and releases a shockwave you must jump to avoid. Otherwise he's the aforementioned forage every bit normal.
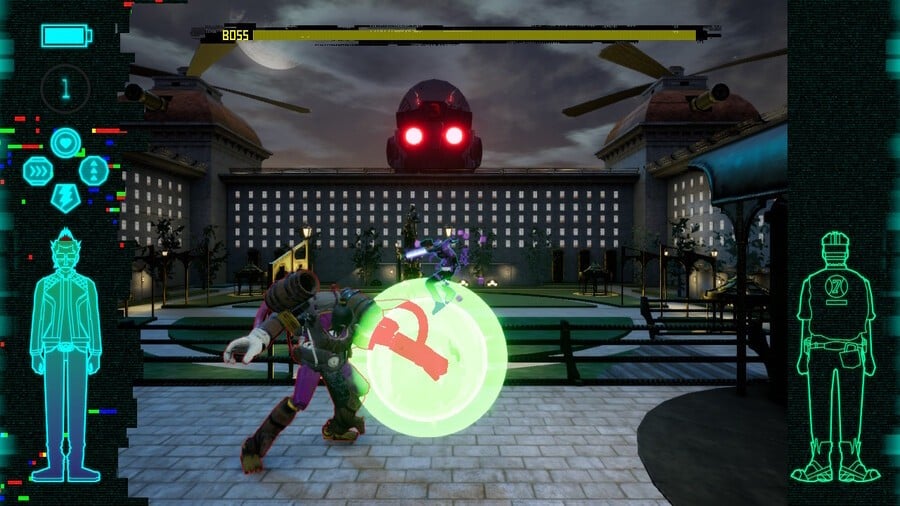
Boss – Smoking King
Later on beating him in the drag race, you lot'll face Smoking Male monarch in an arena. He'south got an earthquake-similar move that radiates out in bursts, and so brand sure you spring clear beforehand. He also shoots out powerful fireballs. Get his health bar downwardly to the cherry and he'll commencement releasing projectiles that fan out and doing flaming barrel-slams that convulse the entire arena – time your jumps to avoid them. Go along at him and you'll go the Physalis Chip for your troubles.
v. Killer Marathon
Boss - Mothership
Well, if you count the Mothership equally a boss and then, yes, at that place's a boss. Merely get below the mothership and fire at the core. Hitting 'Y' releases a 360° explosion of bullets, and so apply that if you're surrounded past missiles.
six. Serious Moonlight/Damned Dark Knight
Mid Boss - Sheepman Pinkish
This one summons hexes that shoot energy balls at yous – pink ones. Simple enough to dodge, this sheep is equally simple as all the others and should cause you few bug at this late stage.
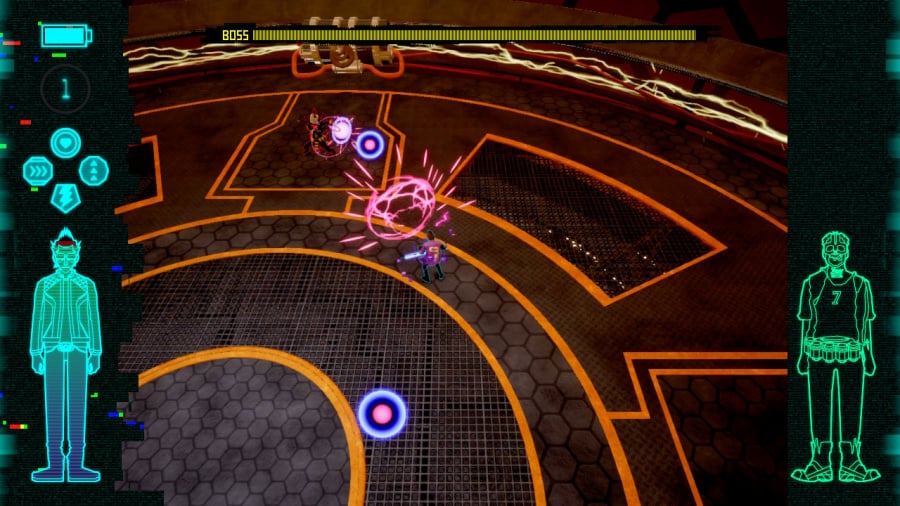
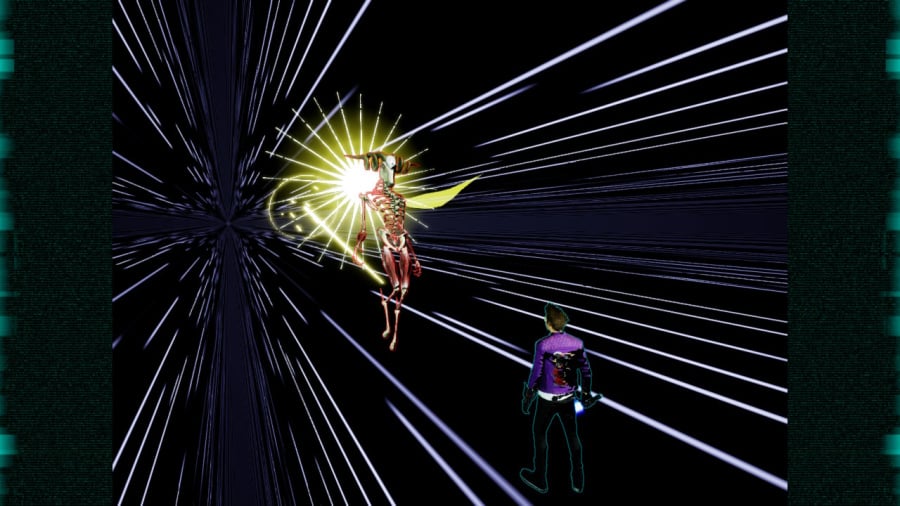
Boss – Viii Hearts
Viii Hearts spins into a tornado that tracks after you pretty sharpish, so you'll take to be nimble. But keep moving and deal with the skulls he summons quickly. Banishing him gets you the Crossbone Chip.
7. CIA
Mid Boss
There's no traditional midboss, although you'll encounter Sheepmen on your travels. In full general, thin the horde before engaging them ane-on-i.
Boss – White Sheepman
White Sheepman has a range of attacks to avoid, including a blackhole-style move that sucks you in, various homing projectiles, shockwaves to leap over and the ability to cause impairment past igniting squares on the floor. The strategy is the same every bit always – keep moving and use that quick dash to get out of the way sharpish. If you're low on wellness, equip the V Chip and wait until she moves to the centre and starts her shockwave assail – you'll exist able to stay in one spot absorbing health while jumping to avoid the waves. She's got one seemingly unavoidable assail – a summoned ball of light that emanates across the entire arena – so you'll desire at least one life in the banking concern. One time finished, you'll get the Dendrobium Flake.
Source: https://www.nintendolife.com/news/2019/01/guide_how_to_beat_every_boss_in_travis_strikes_again_no_more_heroes
0 Response to "No More Heroes Travis Strikes Again Bosses"
Post a Comment